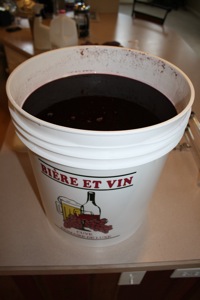
So our wine has been bubbling away quietly for six days now, filling our laundry room with the fabulous scent of yeast turning grapes into alcohol.
If you missed the first part - it is here.
Today begins step two, racking the wine into a carboy and off of the oak chips, and allowing it to go through a secondary fermentation process.
This begins by ensuring the wine is now at a specific gravity of 1.010 or lower. If your wine is not at this level yet, leave it be for another few days. Depending on the season and subsequent;y if the temperature in your storage location is cooler, this can take longer. If you wine is stuck at 1.080 - 1.100 - then you may have what is called a stalled fermentation. Bummer. This can be caused by everything from temperatures out of range, bad yeast or (hopefully not) bacteria introduction that has killed the yeast.
There are many discussion boards and areas to find solutions to this problem - I like the Wine Maker Magazine and site. It has lots of good articles on this issue and getting started in general.
Drop the hydrometer into the wine thief and suck up a sample of your brew. - Don't forget to clean and sterilize it again, before you do this - remember, clean, clean clean. Your hydrometer has been sitting in a cabinet for a week now growing what ever you left on it, and you have a $100 investment in grapes here.
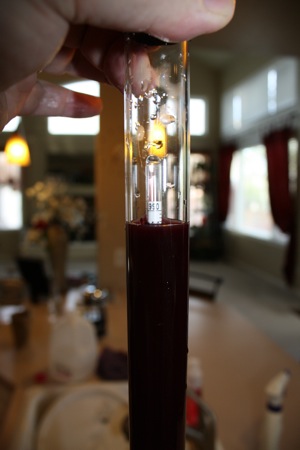
Our wine is currently sitting at 1.000, perfect.
Take this opportunity to drop a few CC's of the wine from the wine thief into a wine glass and taste it. The wine is murky, and cloudy but has a great aroma and at this point tastes interesting. If you tasted the plain grapes a week ago, you can definitely tell a difference. Much less sweet, beginning to resemble wine. You can tell one of the byproducts of the fermentation process is CO2 as the wine has a carbonated mouth feel.
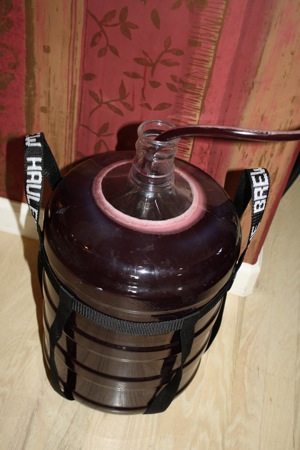
Time to clean a carboy and transfer the wine from the primary fermentation bucket. One of the items in most kits is an auto siphon. A bicycle pump like devise with a plastic tube. Place the bucket on a counter or above the carboy and the carboy on the floor. One quick pump and its off to the races.
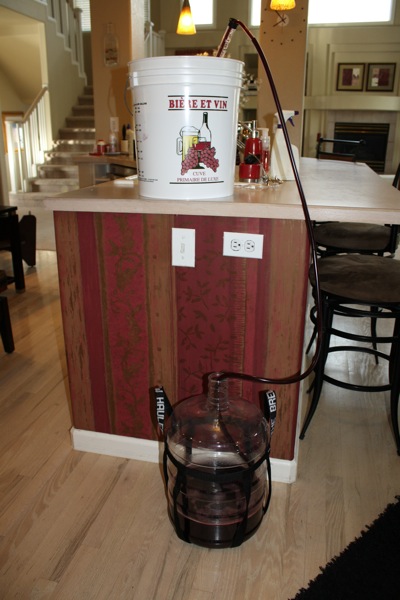
As the process moves along, I have found that placing a book or other object under the side of the primary fermentation bucket helps get the majority of the wine out with a minimum amount of the sludge. Remember the primary purpose is to rack off the oak and most of the sludge that has settled to the bottom in the last week. Don't 'stir' the wine with the siphon. Stick it into one spot, then leave it there.
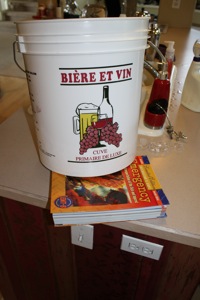
Here is a shot of the sludge left behind in the bottom of the bucket.
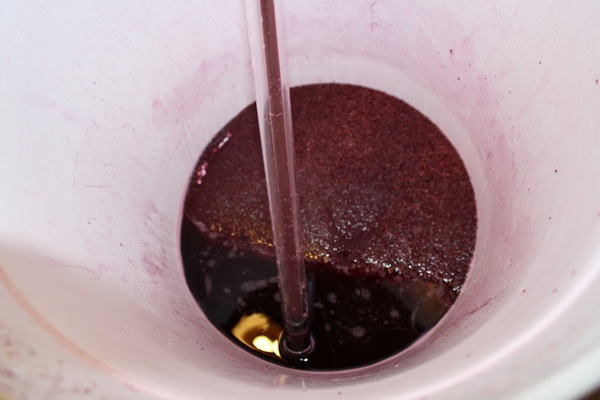
As you get close to the end, be prepared to lift the end of the siphon above the surface of what is left, as to not overfill the carboy. I had a bit too much liquid in my bucket once on a previous batch and was not paying attention and overflowed the carboy. This is a mess you want to avoid if possible.... trust me.
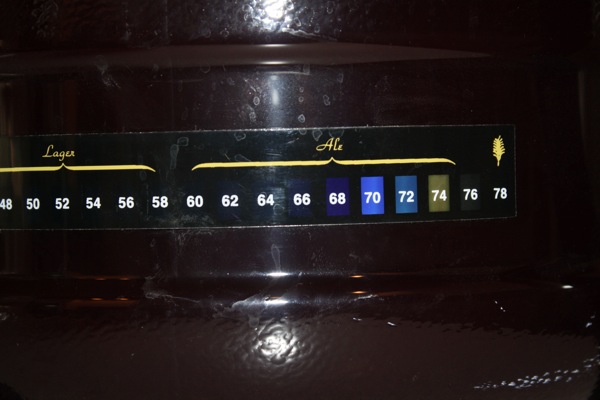
Once again check the temperature of the wine, and ensure it is in the sweet spot of 65-75 degrees. The brew store has these great aquarium temperature stickers that can be affixed to the outside of your carboy so you can monitor the temperature easily. One trick I have read about if brewing during the dead of winter is to set the carboy on a old heating pad plugged in on low. Mine appears to be about 72 currently.
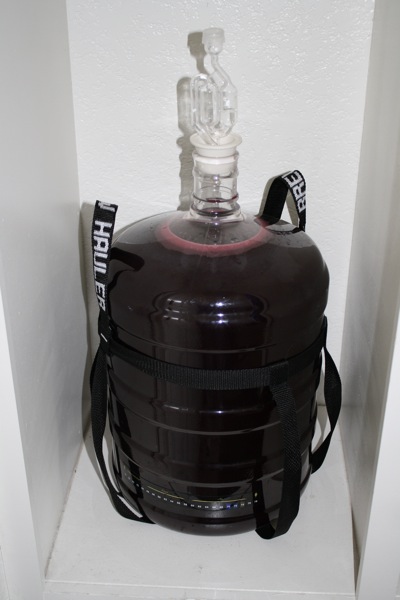
Finally top off the bad boy with an air lock and its back into storage for another 10 days or so. Once fermentation has reached 0.996 or less and stabilizes, (remains the same over two consecutive days), we will begin the clarification process.
Check back soon. This is a good time to have a glass of wine, and explore possibilities for what you are going to call it, and how you want to design the label!
Happy Mothers Day to everyone!
Step 3 is here